This is by no means a tutorial - I am only at the experimenting stage myself.
There are many experts writing in blogs and there are beautiful books on the subject.
This is just my playful and fun attempts!!
I was first prompted to try this form or dyeing having seen the amazing work of India Flint. I am starting with baby steps, to test a few pieces and mainly to have backgrounds for my embroidery and textile art.
I choose to try dyeing with rose petals, eucalyptus leaves . . . and because I love dark shades . . . some rusty keys (take care when using these - don’t lick your fingers!)
(1) Choose the Eco Dye
First have a look at what you have in your garden or if like me you have no garden, find a friendly florist who might sell off or kindly give discarded blooms or cuttings.
Gather petals and leaves, darker colours give richer stronger shades. There are lists and colour charts of what’s achievable from various flowers, vegetable skins and leaves to be found on the internet and in the ‘must have’ books like
Eco Colour by India Flint or
Colours from Nature by Jenny Dean.
Impatient me just jumped in and winged it with these pieces !!
(2) Choosing the fabric.
I found that silk and felt took the colours best. (Cotton / scrim etc were more hit and miss.)
I soaked the fabric pieces in water with a little vinegar for about an hour. But there are other ‘fixatives’ you can use to attract the dye.
(3) Design a layout.
I then put down waterproof covering on my table (oil cloth or a black bag) and laid out my fabric flat. I arranged the petals / leaves / rusty keys and then rolled into bundles. I found that a thick branch or piece of wood was good to start the rolling. Then I wrapped and tied up with twine. (if you tie up with white or cream cotton knitting wool you get that dyed as well !!)
(4) Steaming.
Next I steamed for 3 hours. I bought a large saucepan to use just for this purpose.
(5) The hard part - waiting.
Allow to dry completely - may take 3 days - 1 week.
(6) The best bit - unwrapping.
Unwrap - pull away all the petals and leaves (dry and keep keys for next time) Iron if you want a flat look and to seal the colours more.
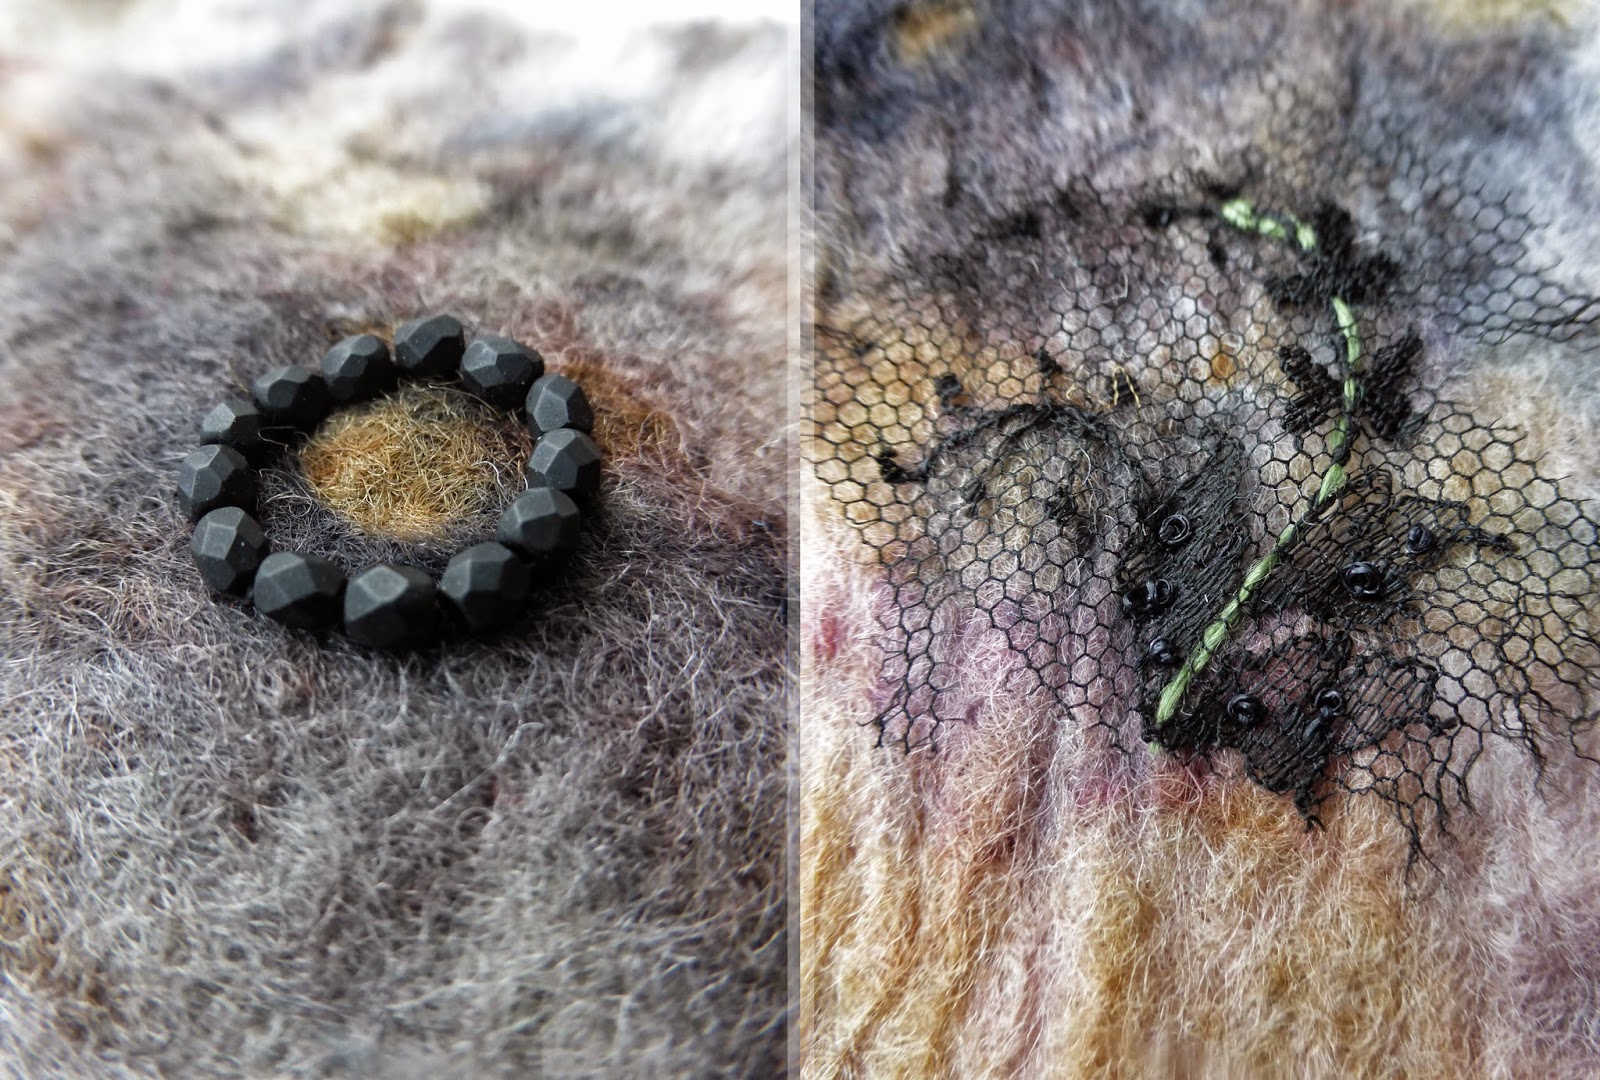
(7) Results.
Then think of what you are going to do with these unique fabrics.
Such fun to do - always a surprise result !!